|
|
Post by HONDAM on Jan 1, 2012 17:51:55 GMT -5
|
|
|
|
Post by hondacat on Jan 1, 2012 19:23:46 GMT -5
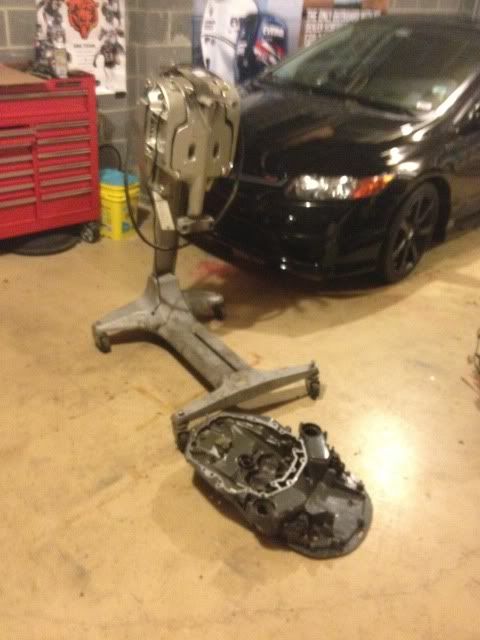
RYAN You must have done this a time or two? You make it look easy glad you tore it all the way down would hate to find those bad motor mounts after you had it all back together 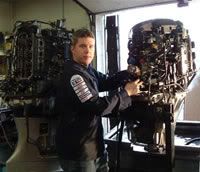 |
|
|
|
Post by HONDAM on Jan 8, 2012 15:37:06 GMT -5
Its important when your working with a project this big to bag and tag all of your parts. And what i mean by bag and tag i dont mean all in 1 bag!!!! Like this 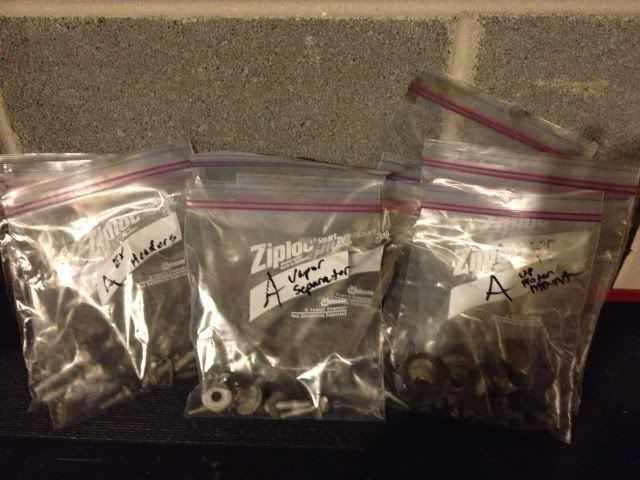 NOT this.... 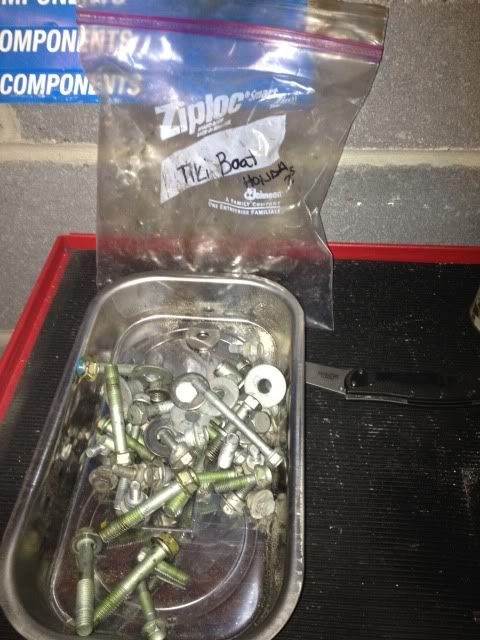 |
|
|
|
Post by HONDAM on Jan 8, 2012 15:40:40 GMT -5
Another tip for you guys working in the shop The throttle cables on the engine do not need to be disconnected, the cable bracket that the cables from the boat hook to is only held on by 3 bolts. Take the bracket off instead of dissconnecting the cables and it will save you a lot of time not having to adjust those cables over and over. 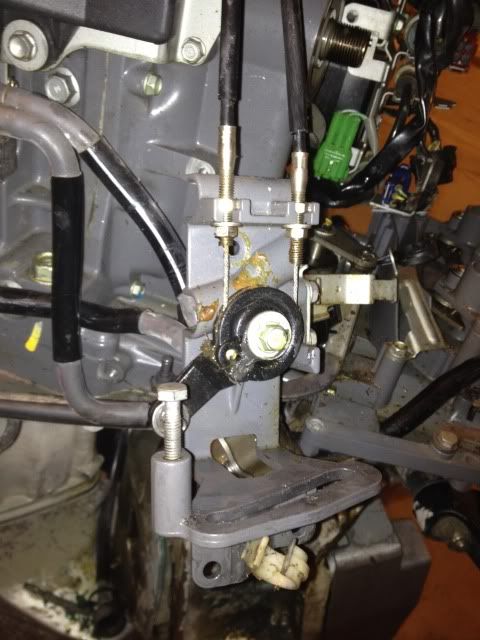 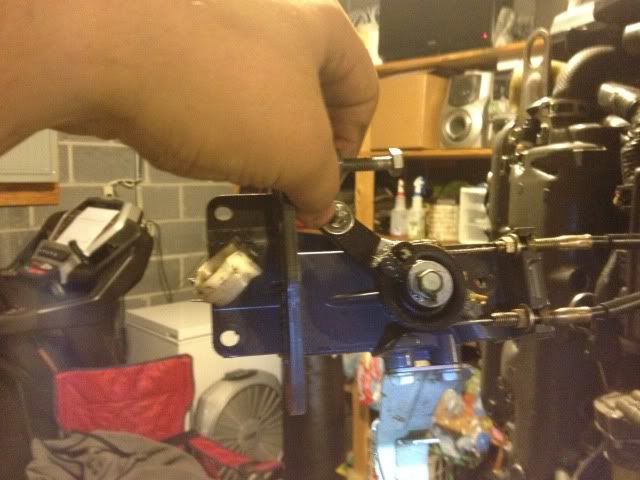 |
|
|
|
Post by HONDAM on Jan 8, 2012 16:00:47 GMT -5
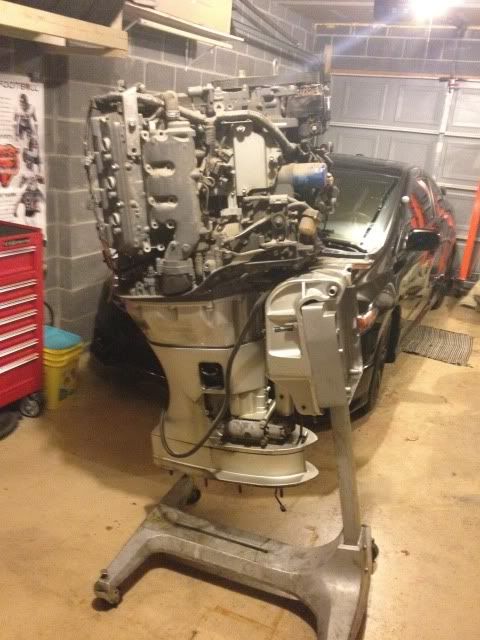
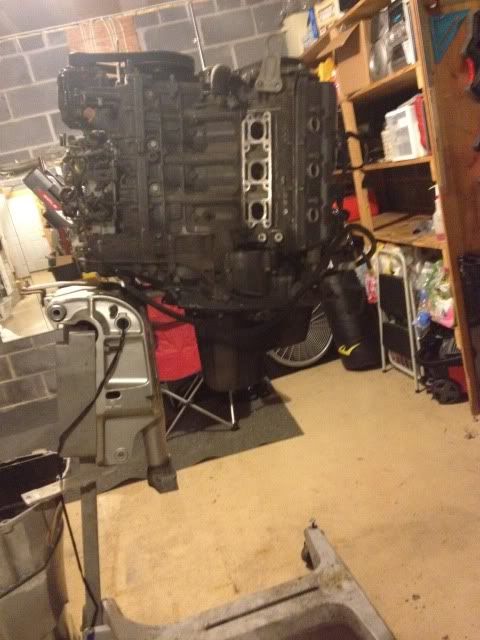
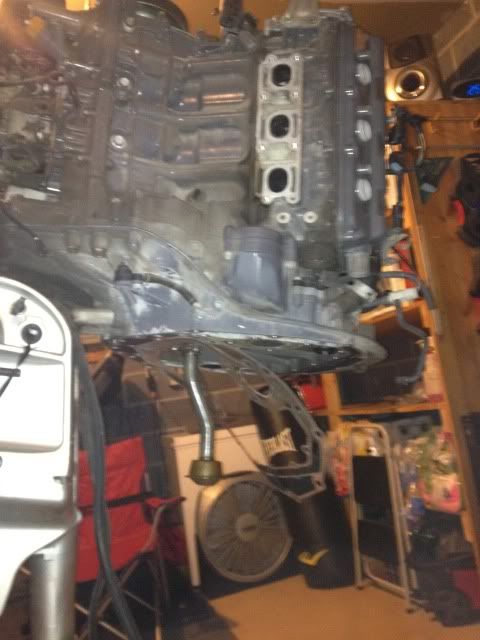
Today i put the top half of the second engine together. Im still missing some parts so i couldnt get it completely put back together but got most of it done. The longest and most tetious part of this project is the valve adjustment. 6 cylander x 4 valves per cylander = whole lot of time checking adjusting and re-checking valves. Luckily this is something you dont have to do very often, maybe every 800-1000 hours after the initial breakin period. Here is the motor up for the work 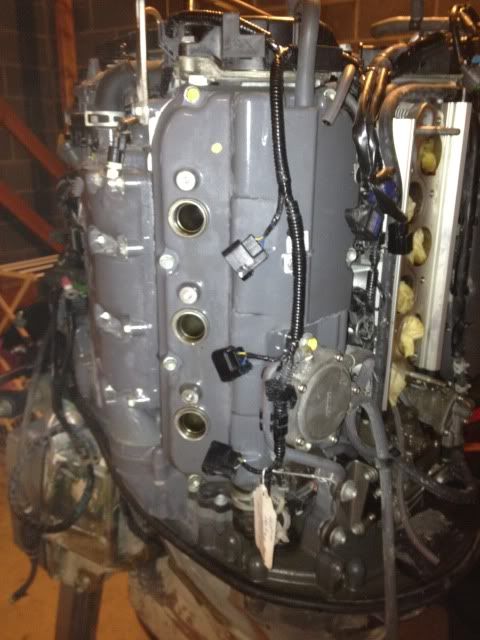 Get the valve covers off you see what im talking about. 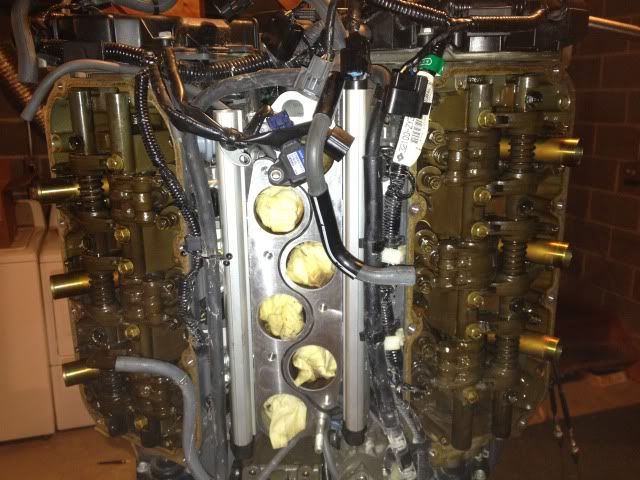 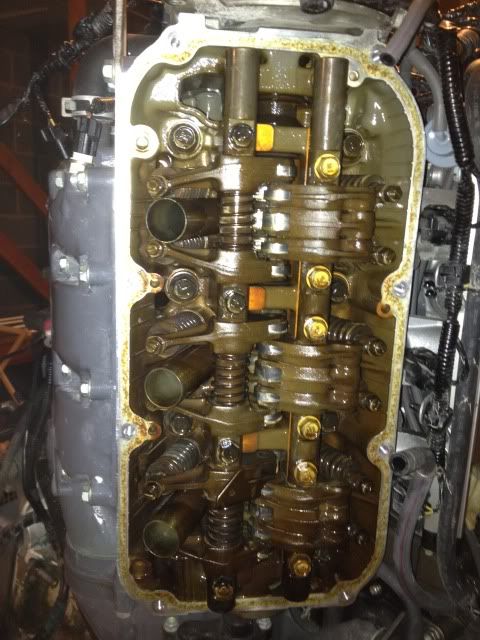 Tools of the trade, screwdriver looking thing is a special valve adjusting tool honda sent me to make things go a little easier otherwise i could have used a screw driver and box wrench 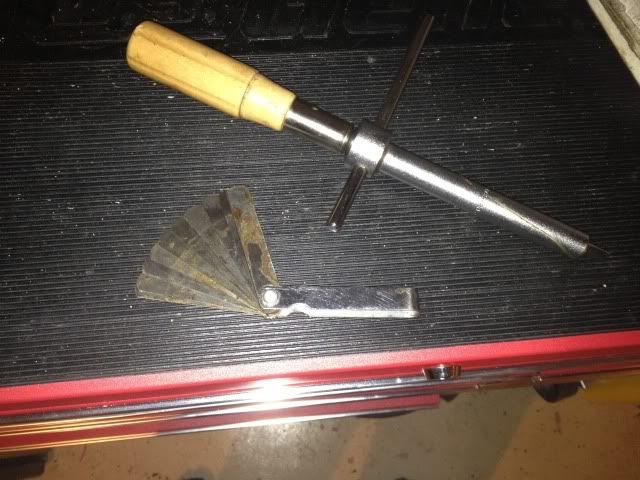 The fueler gauge i use is a 2 step model and the tip is a little thinner then the body. The tip is at the bottom edge of the tolerance and the body is right at the top which makes adjusting a lot easier because you just slide it end in and as long as it fits and the body doesnt you know you have it right. 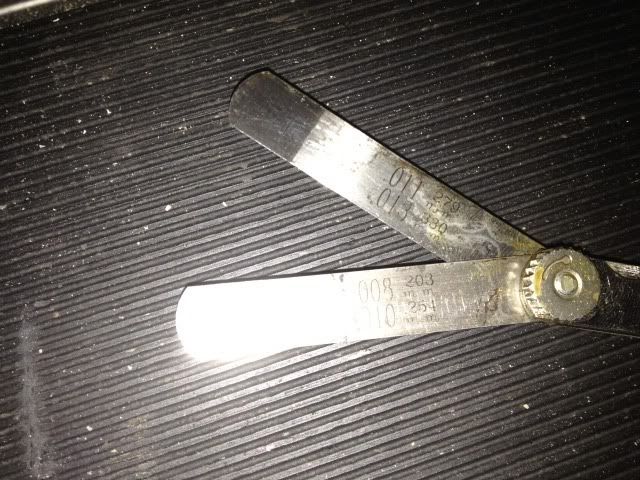 Now the the adjusting 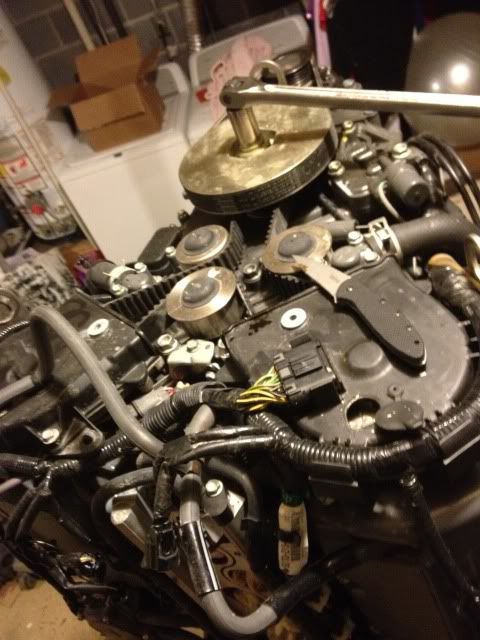  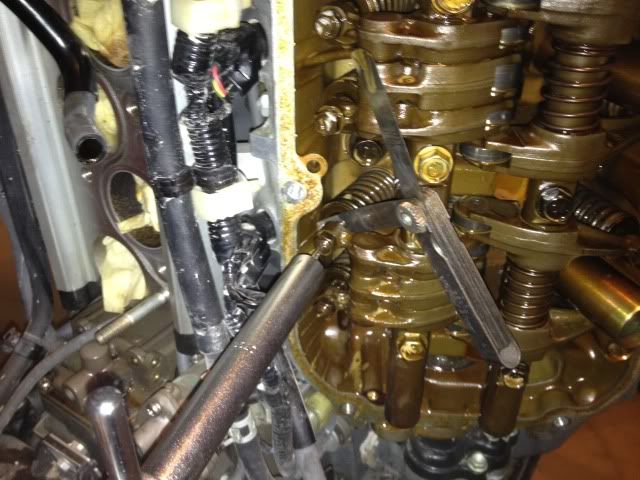 Double and triple check then mark checked all lock nuts to make sure they are tight. Had to clean up after someone who wasnt as careful one time and let a lock nut get loose so now im extra careful. 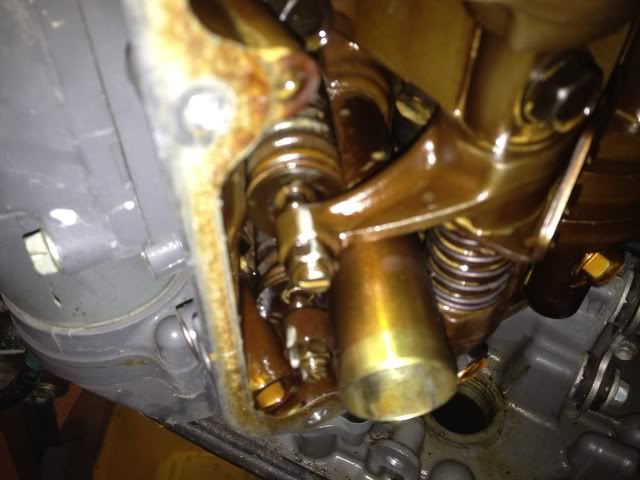 Now it all goes back together  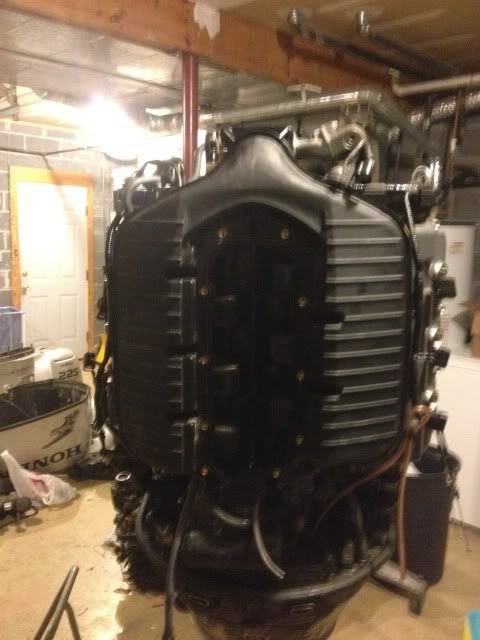 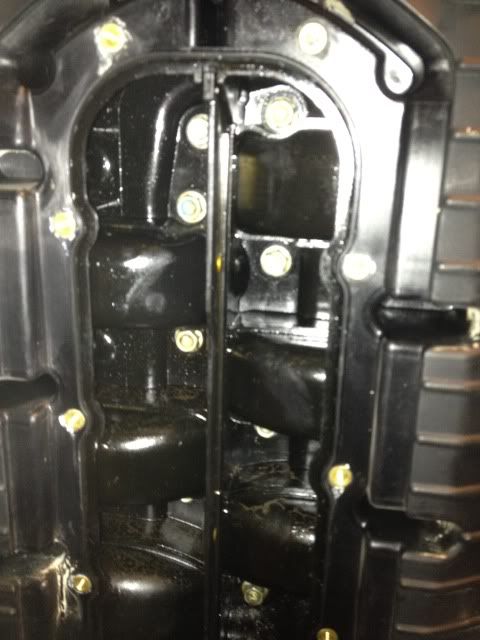   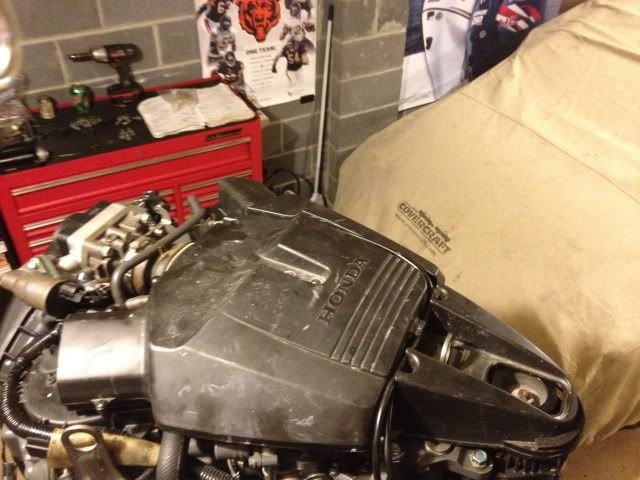 Need more parts again... Coming next taking this assembled power head and putting it on the 25" mid section with the fresh motor mounts. |
|
|
|
Post by HONDAM on Jan 28, 2012 18:01:23 GMT -5
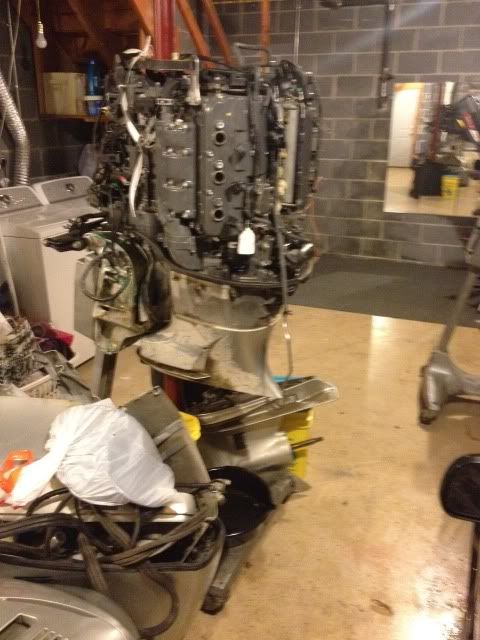
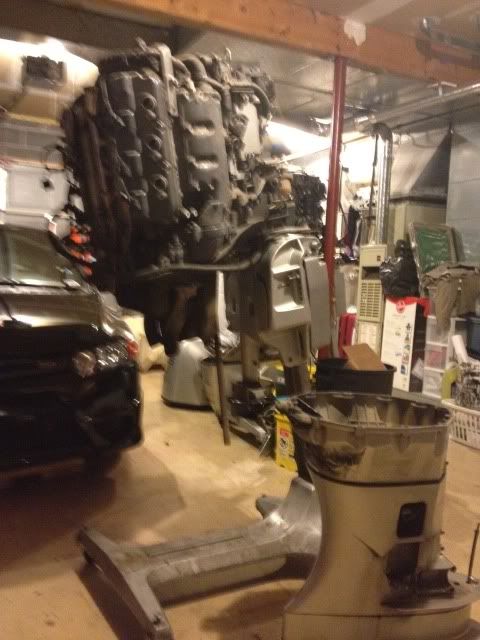
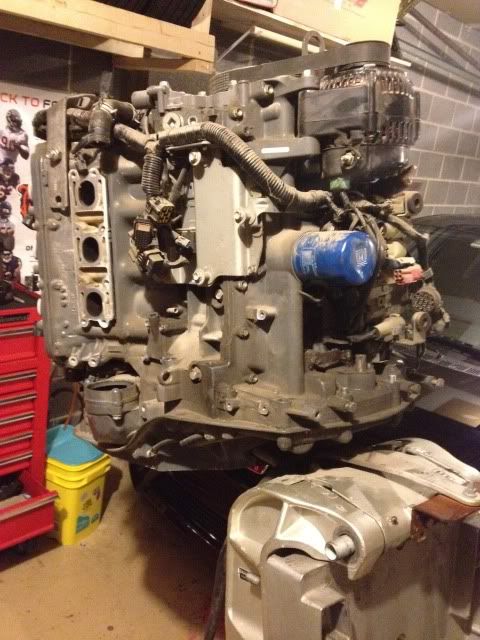
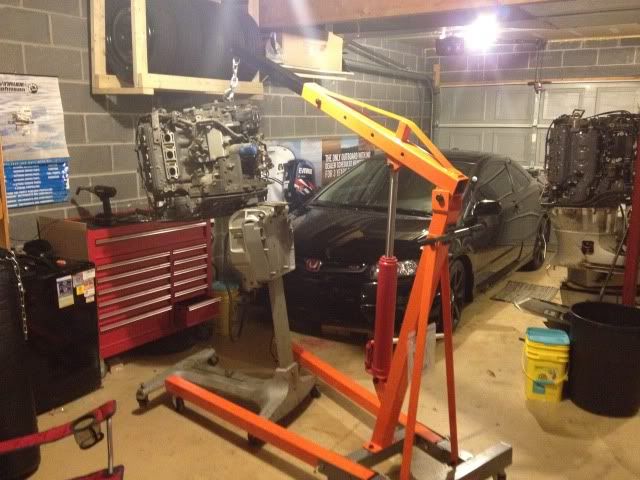
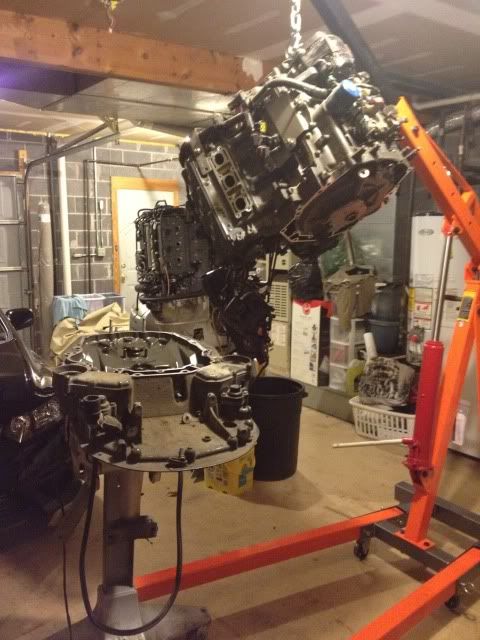
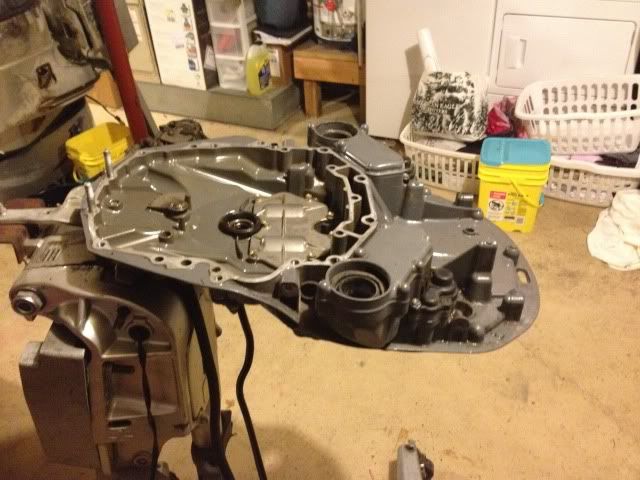
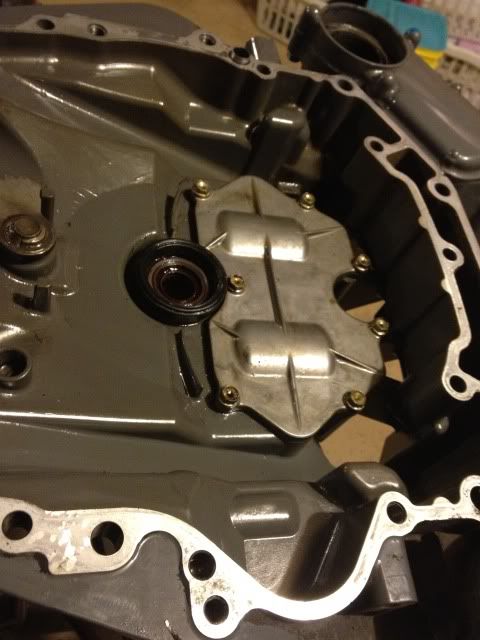
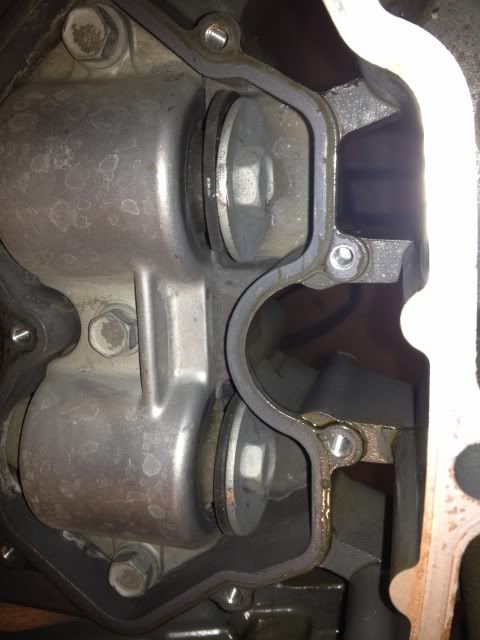
Now i have all the parts i need to get it back together, i needed a little help placing the powerhead and had limited time to do so so i didnt get a lot of pictures but it is just pretty much a reverse of taking apart except there are several items you have to make sure line up correctly paticualy the shift linkage. Parts... 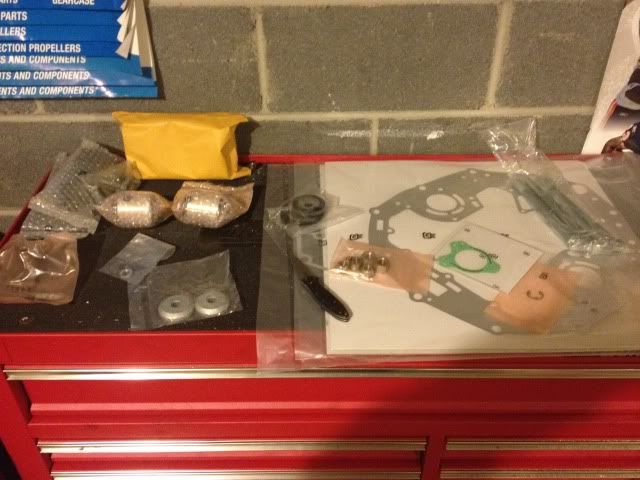 These are the new washers about 3 to 4 times thicker then the bent ones i took out.  Take notice the difference with it all put back together i have pretty much the same picture above with the old pieces.  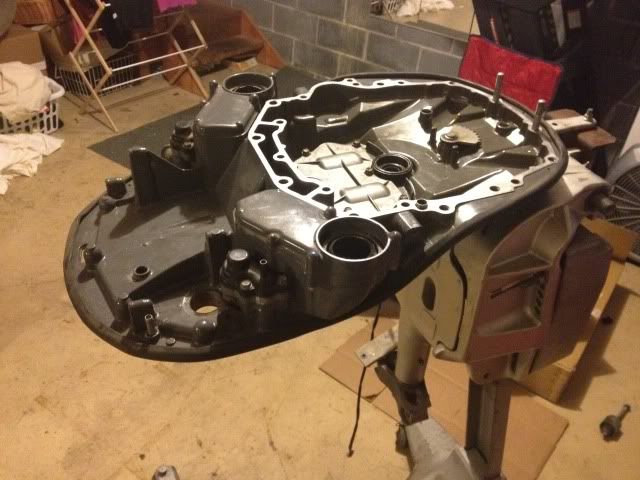 Now time to get ready for the drop. I dont have the exact right apartatus for lifting the engine but since it is only a small portion it wont hurt but please do not do like this at home with the whole engine assembled you could do a lot of damage 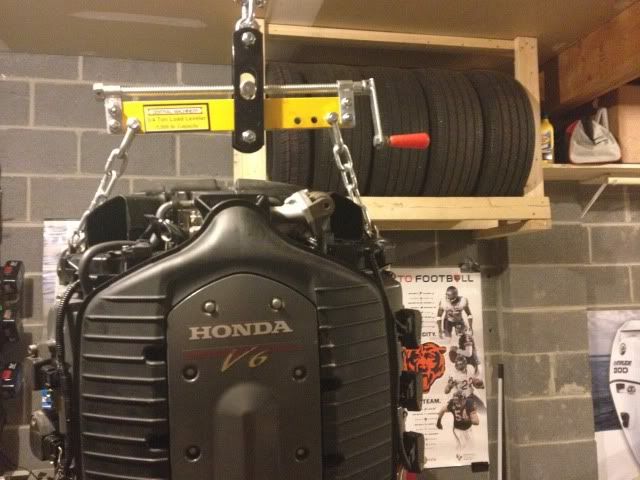 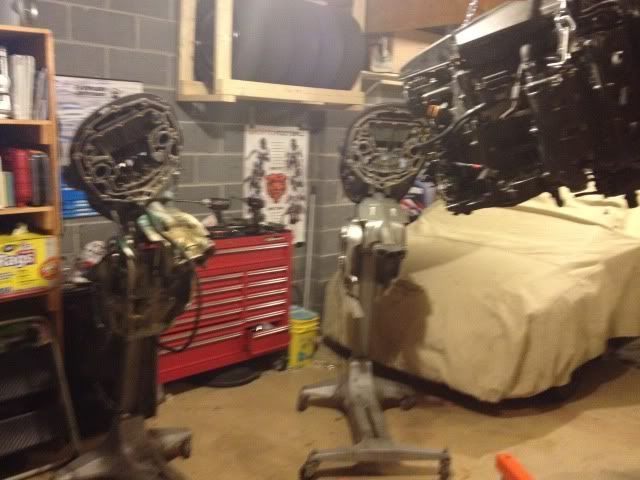 The final product just a few little odds and ends to finish up and it will be ready to run  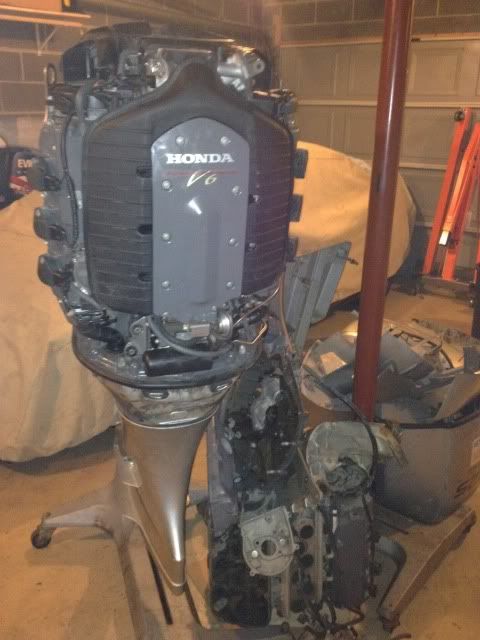 Will have one more update coming soon once its complete... |
|
|
|
Post by HONDAM on Jan 28, 2012 18:25:00 GMT -5
Its done!!
Here is a short video of it starting up for the first time.
It is running a little rough because it has some stale gas it in but its ready to go and sounds great.
|
|
|
|
Post by redrider on Jan 29, 2012 14:34:05 GMT -5
 Hang it on a boat and hammer down sounds great here when its 17 degrees and snowing.
|
|
|
|
Post by hondacat on Mar 4, 2012 20:13:15 GMT -5
Just in case you might b e wondering
to save those who are wondering a phone call
motor has been sold
there will be others !
|
|
|
|
Post by bobdunn on Mar 5, 2012 23:44:45 GMT -5
I bet you learned a lot about this engine in rebuilding it from two motors.
Bob
|
|


 Hang it on a boat and hammer down