|
|
Post by hondacat on Feb 27, 2016 8:38:59 GMT -5
|
|
|
|
Post by hondacat on Feb 27, 2016 8:41:09 GMT -5
|
|
|
|
Post by hondacat on Feb 27, 2016 23:06:26 GMT -5
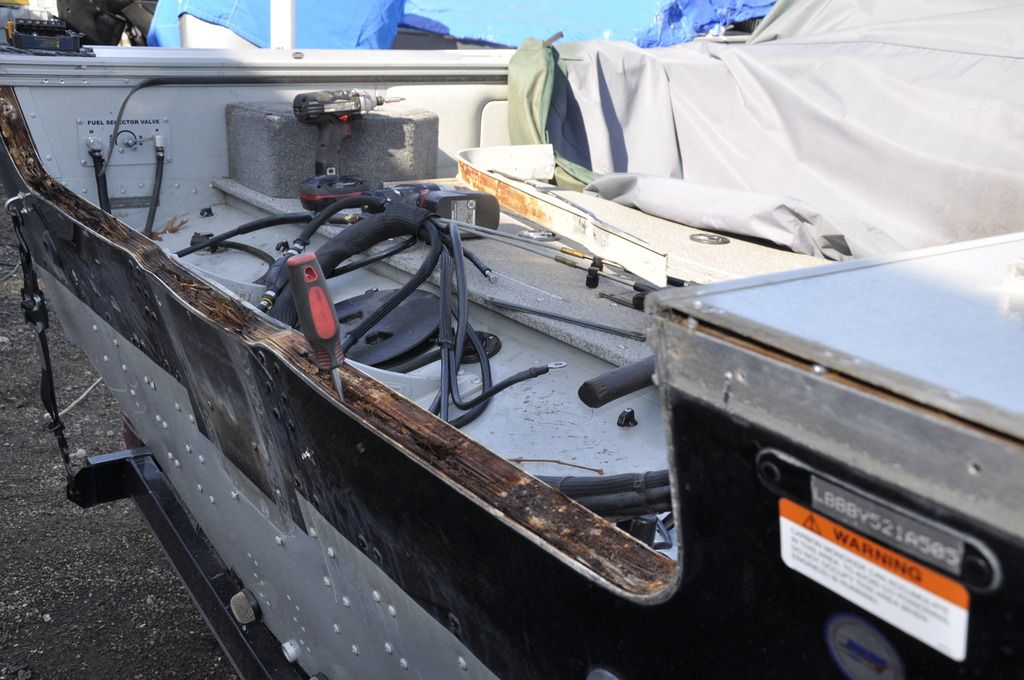
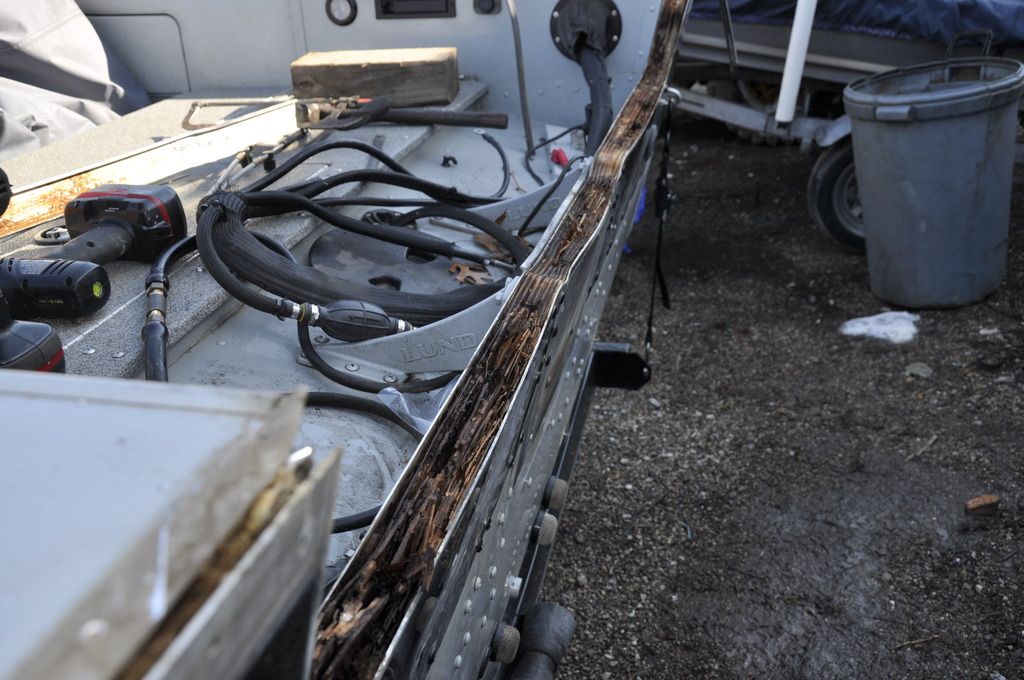
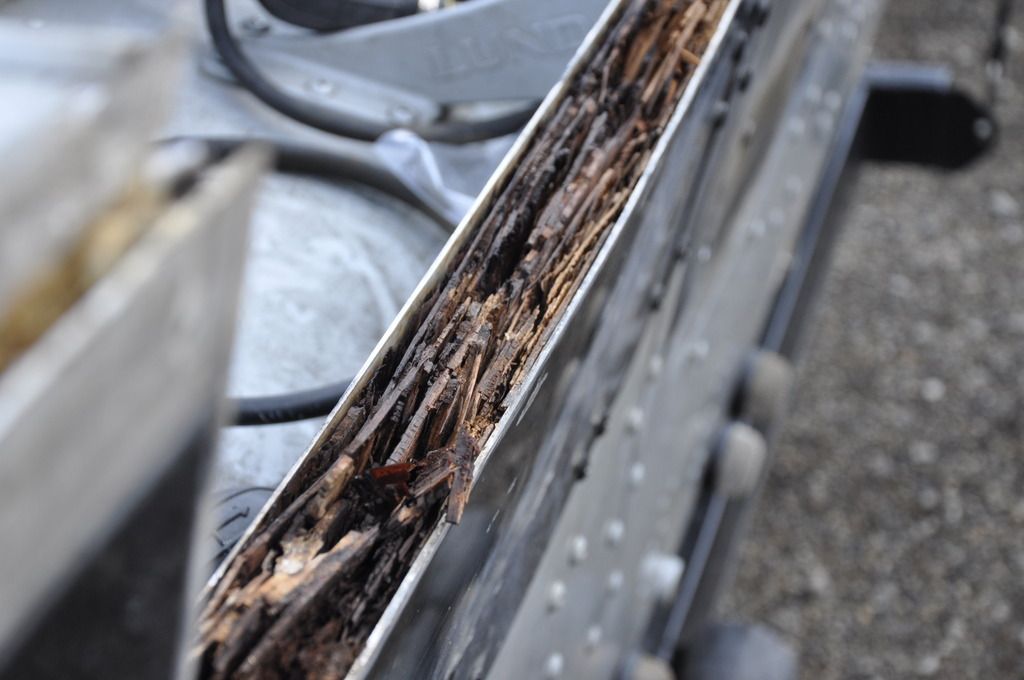
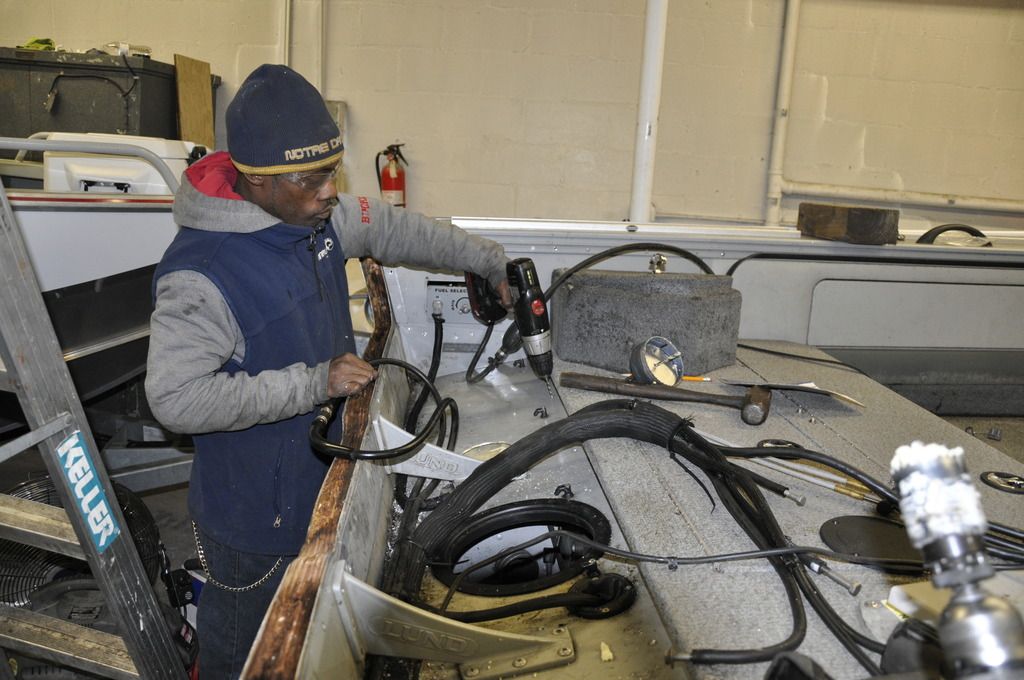
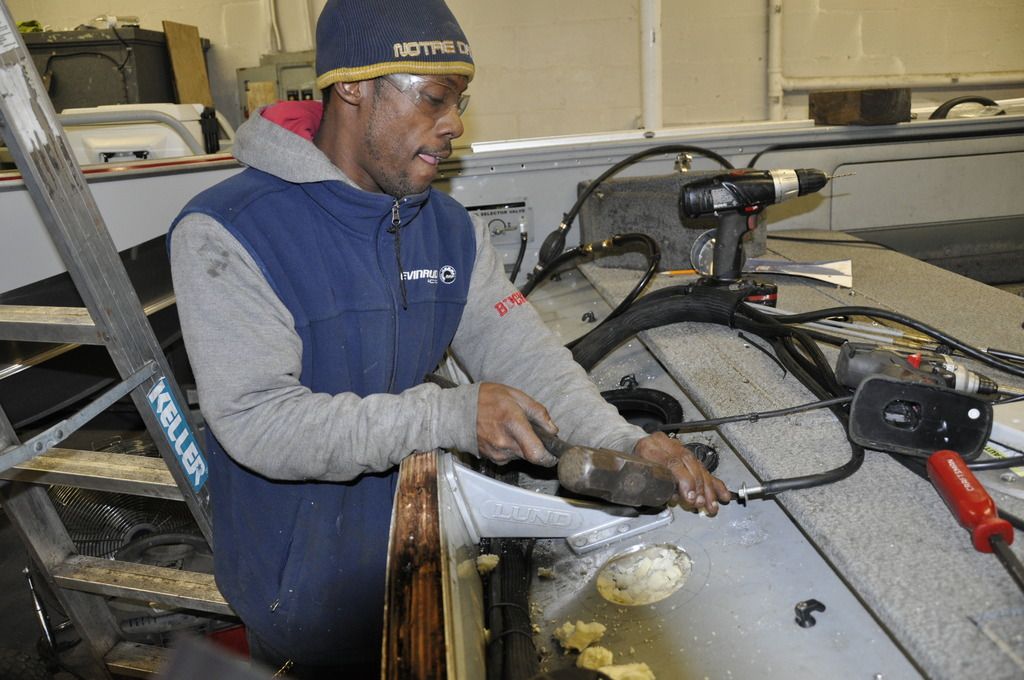
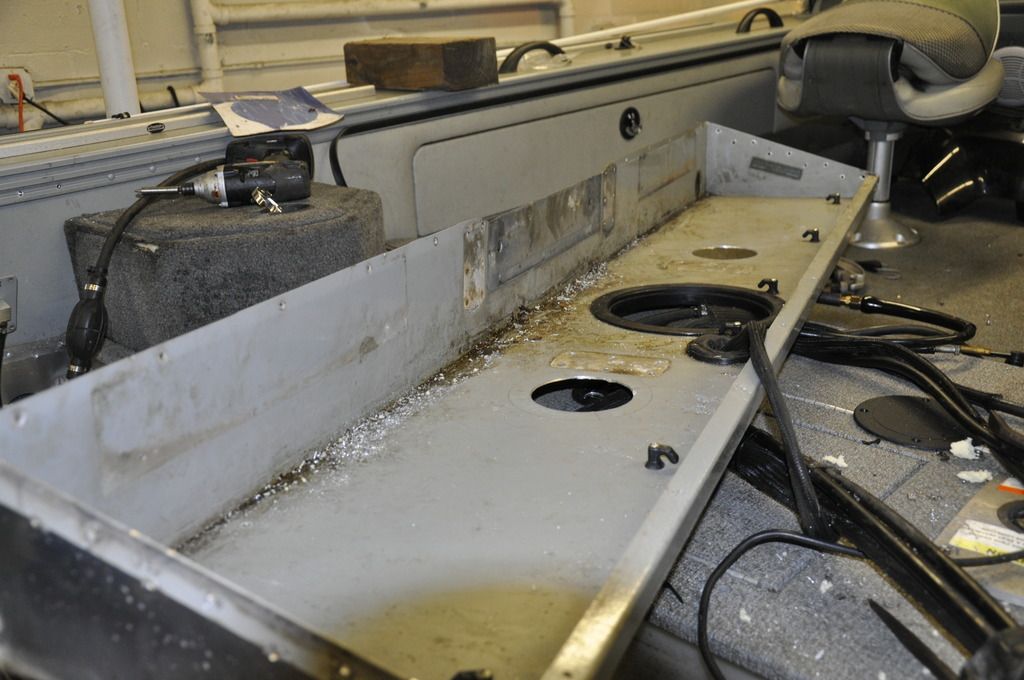
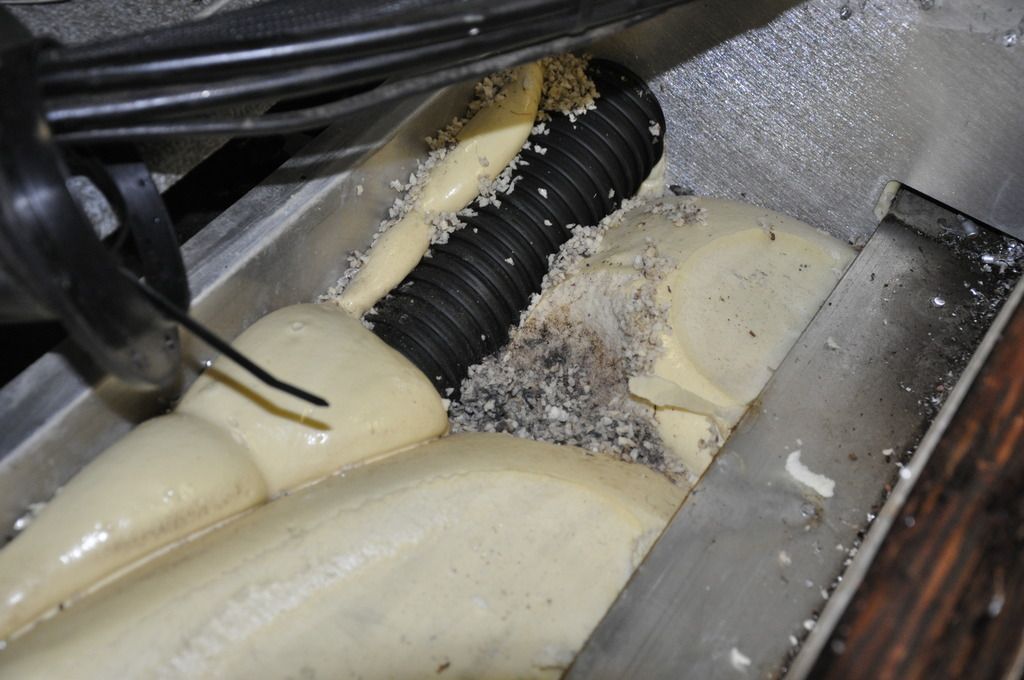
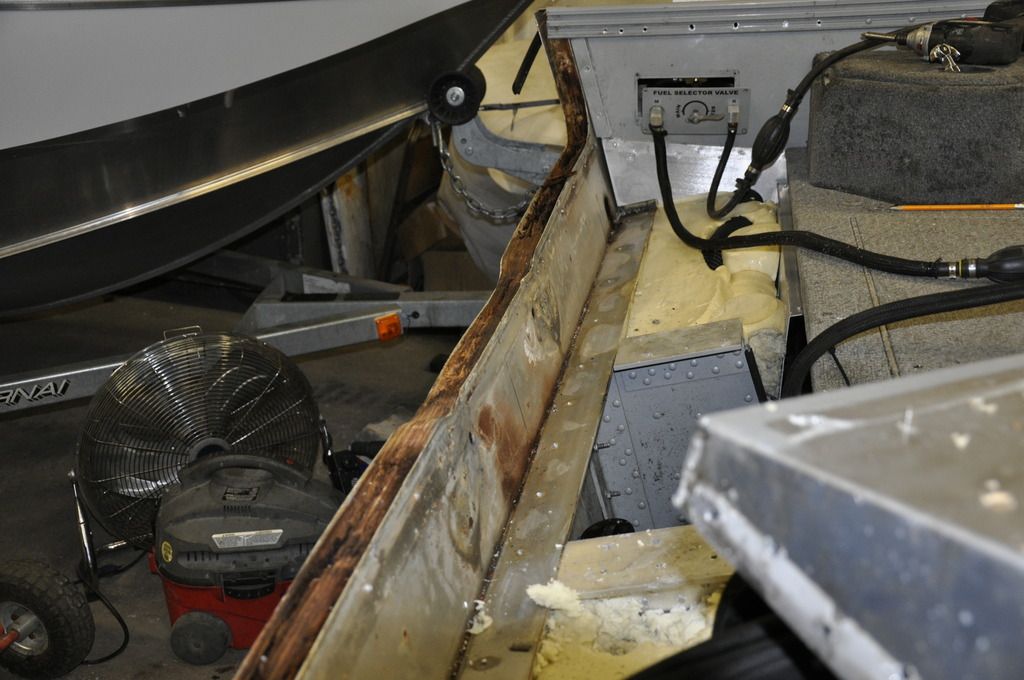
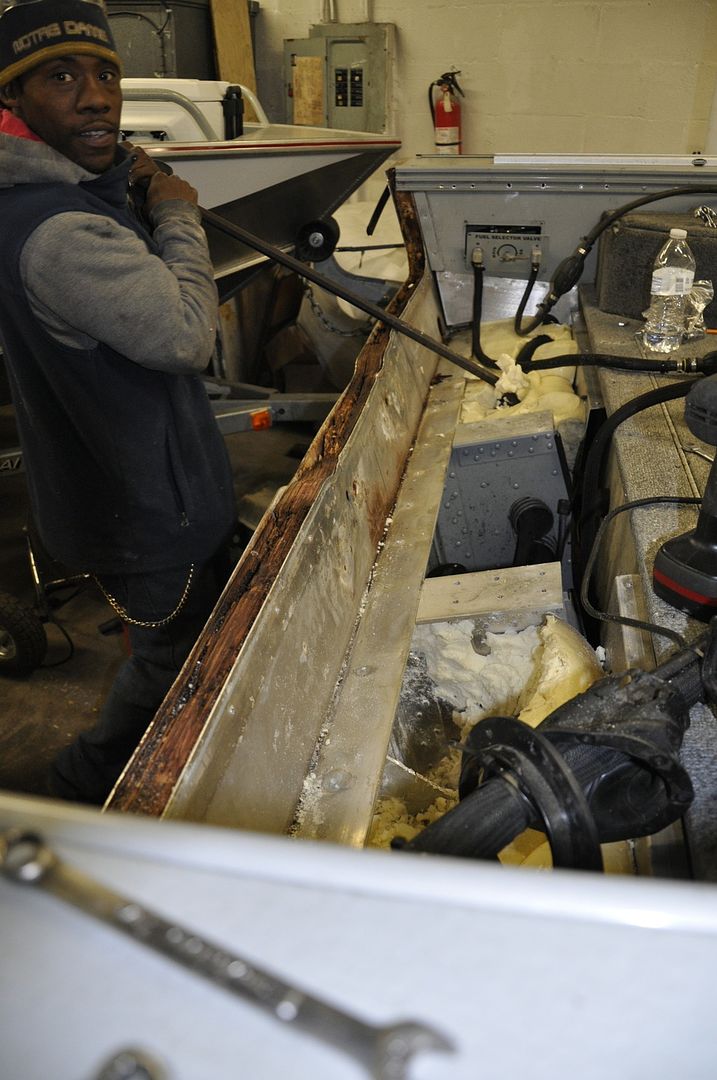
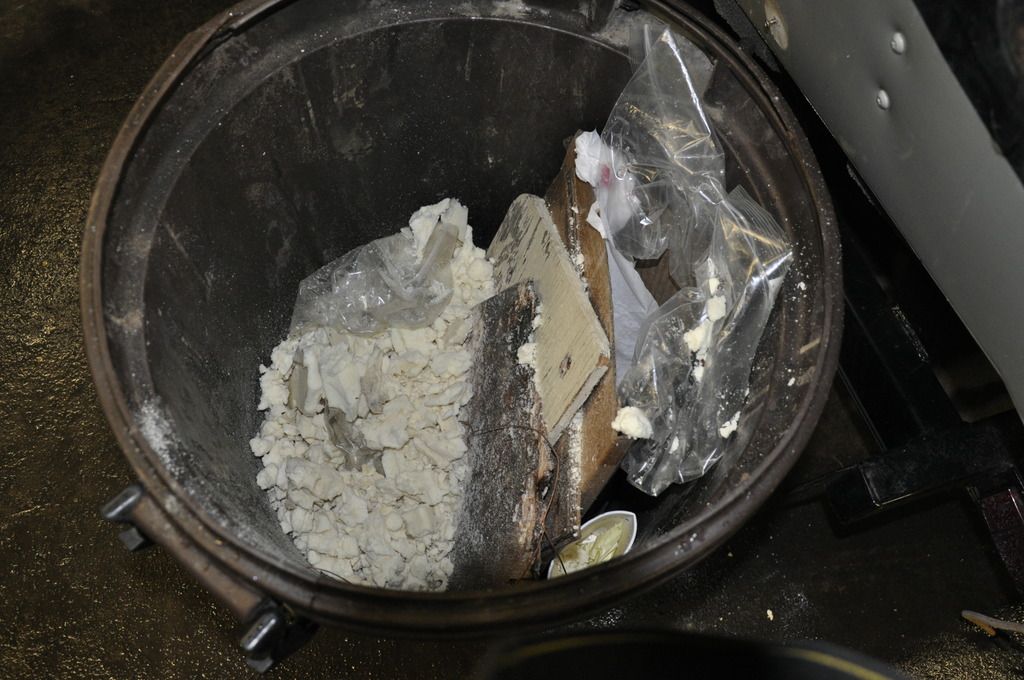
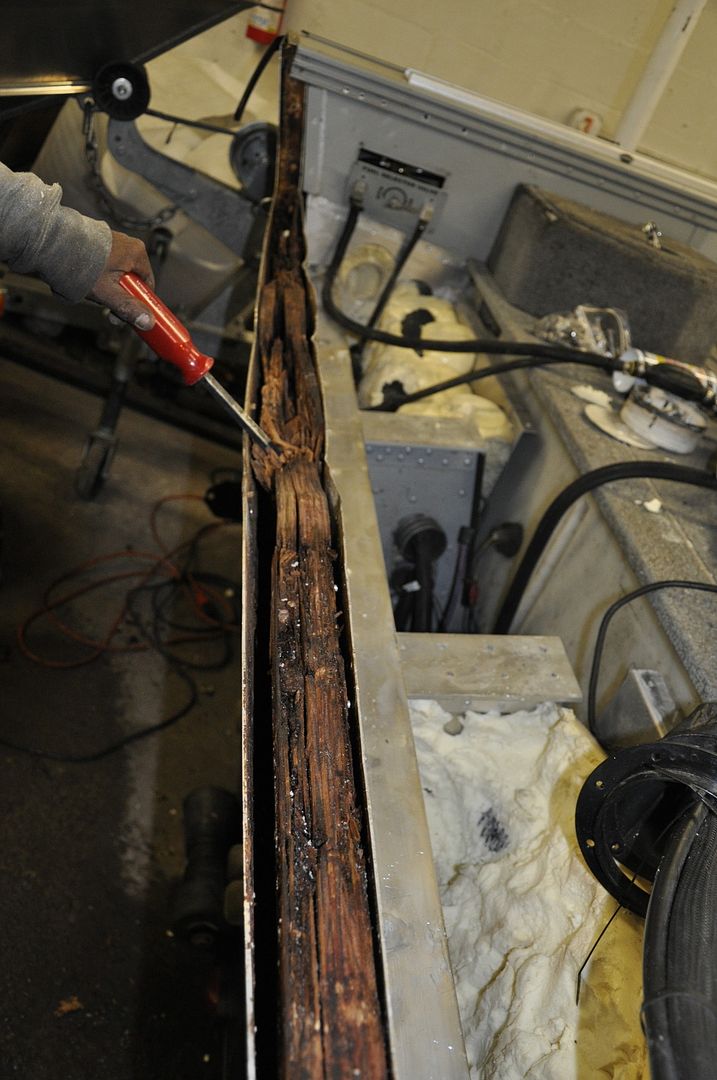
Day 3 not a good day Knew things where going bad when we could not get the transom out in one piece or even two came out in one large chunk and the rest was more like gardening soil than any thing that even remotely resembled a transom there is just nothing left to use as a pattern going to be a lot more work to make the replacement transom 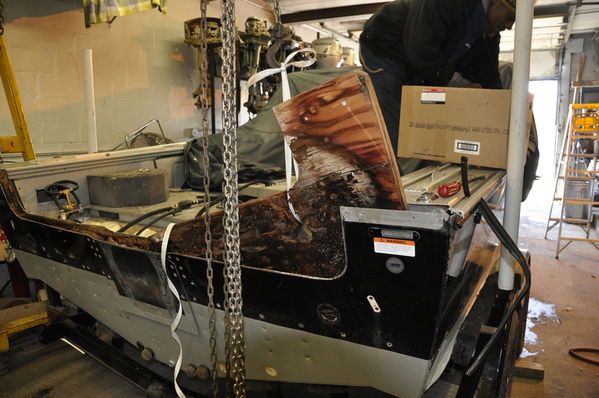 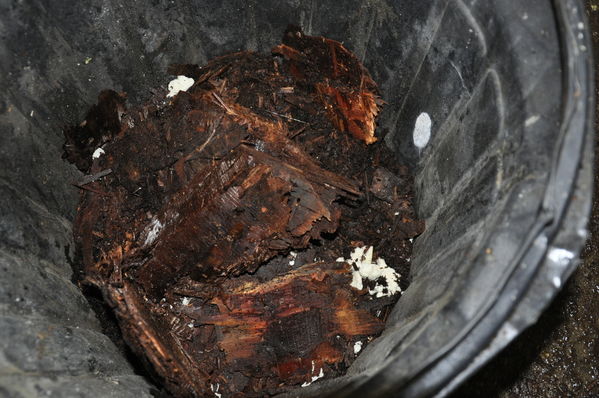 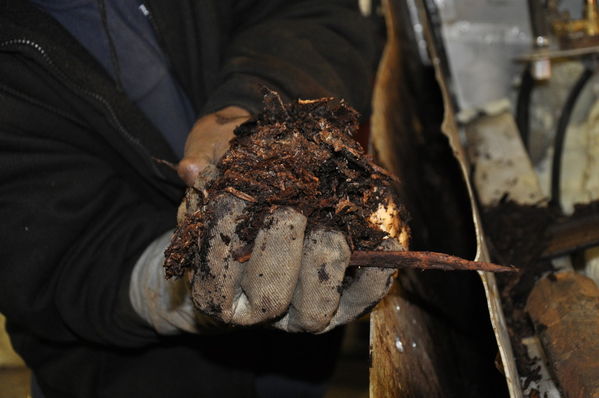 |
|
|
|
Post by striper2300 on Feb 28, 2016 9:17:42 GMT -5
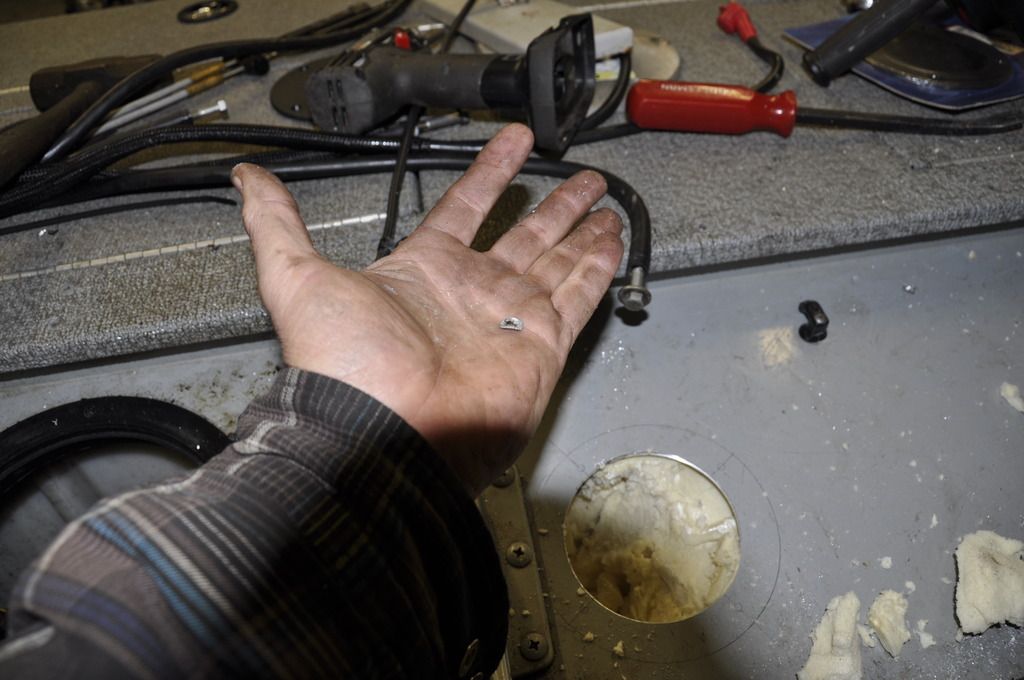
Frank!! you forgot the staples, at least they were stainless "I THINK"
|
|
|
|
Post by hondacat on Feb 29, 2016 20:44:55 GMT -5
day 4 well half a day any way cut a piece of 1/4 lewan to fit actually trashed the first sheet was a lot more carefull with the second sheet left a exra 1/2 " above the aluminum after we get one out of the claps that has been drying get these two new sheets glued and the two sheets lamninated tomarrow clamped on to the heavy iron and let it dry for a week we will install it in the boat trim it to fit perfectly then remove it and give it 4 coats of marine epoxy before final install and bolting it in 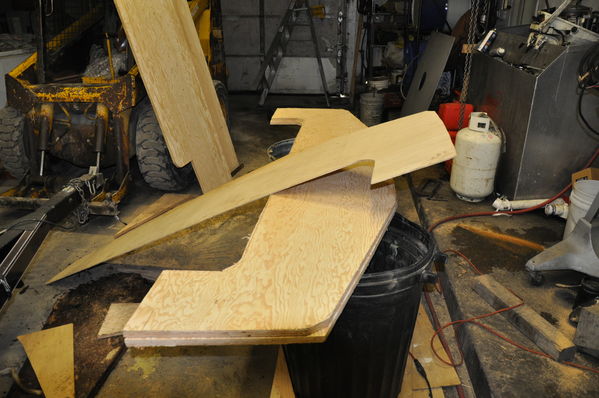 |
|
|
|
Post by hondacat on Mar 1, 2016 20:50:57 GMT -5
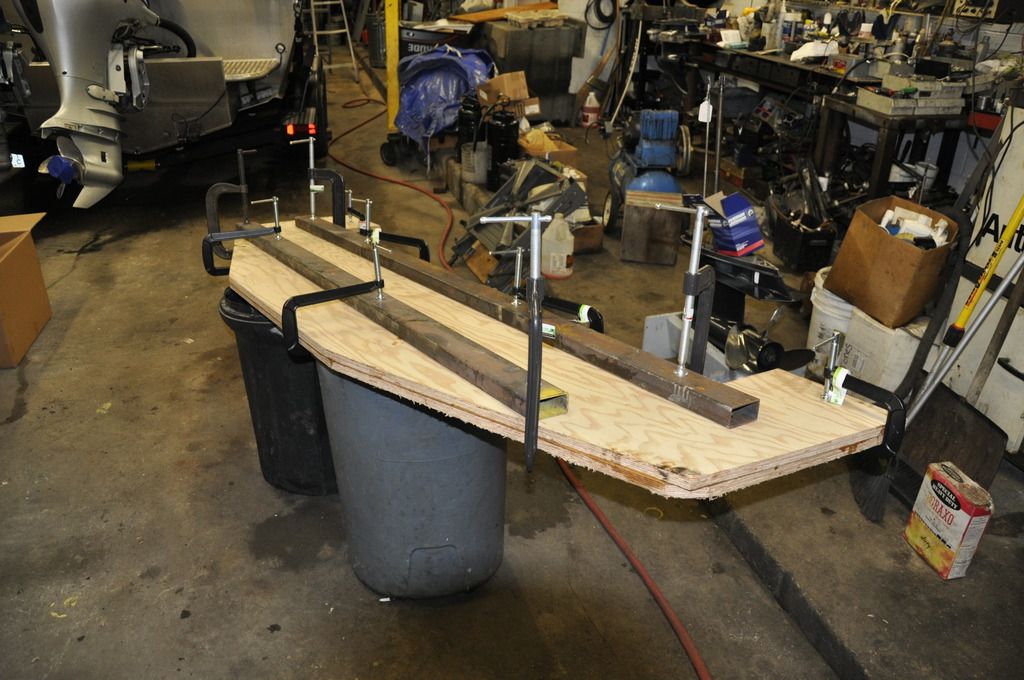 Today got the two 3/4 sheets of marine grade"A" plywood laminated today had to stay clamped down to make sure it cures perfectly straight |
|
|
|
Post by HONDAM on Mar 1, 2016 23:10:13 GMT -5
We just screw ours together, works good too ad we can continue assembly immediately.
|
|
|
|
Post by hondacat on Mar 10, 2016 20:45:35 GMT -5
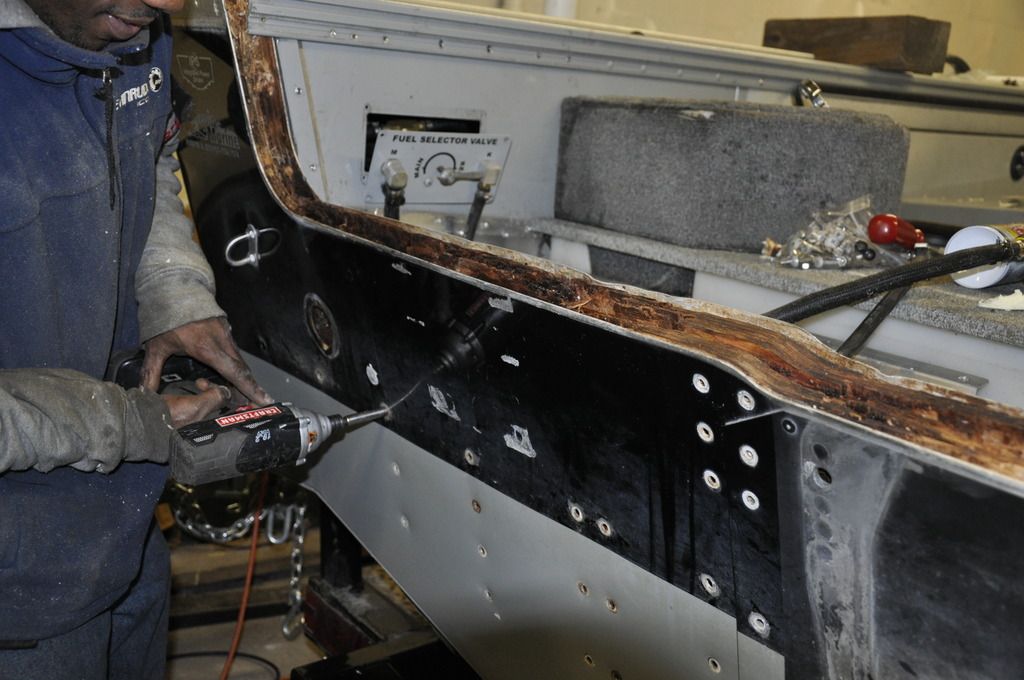
ok back at it steps 6-10 let it dry real good for 7 days and then 3 coats of west system epoxy reign on both sides and bottom every thing but the top looked like a nice piece of furniture when we where done next we went in the transom gave a final cleaning vacuumed it out reel goo and tried out best to straighten all the bent aluminum skin Installed the new transom installed (and caulked) 4 of the thru bolts to hold it perfectly in place then trimmed the top of the transom with a saws all will do some final filing and sanding to make the board match the top of the aluminum perfectly then 4 coats of epoxy to seal up the top of the wood with these extra steps there is no gap between the aluminum and the wood if some thing is dropped on the transom cap it will not dent distort or break the seal on the top cap. 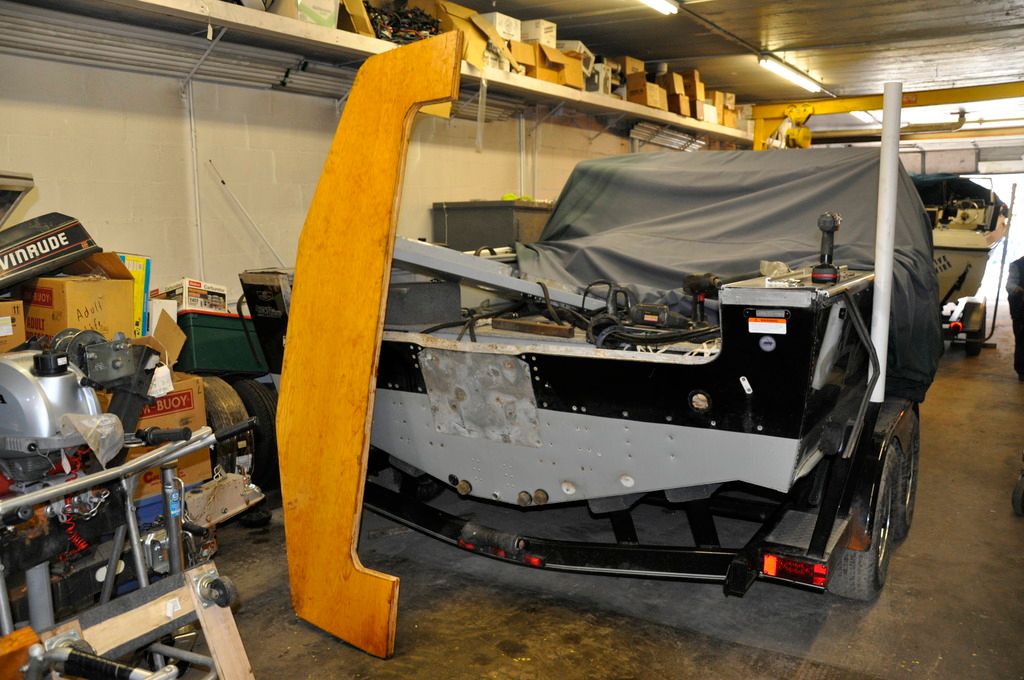 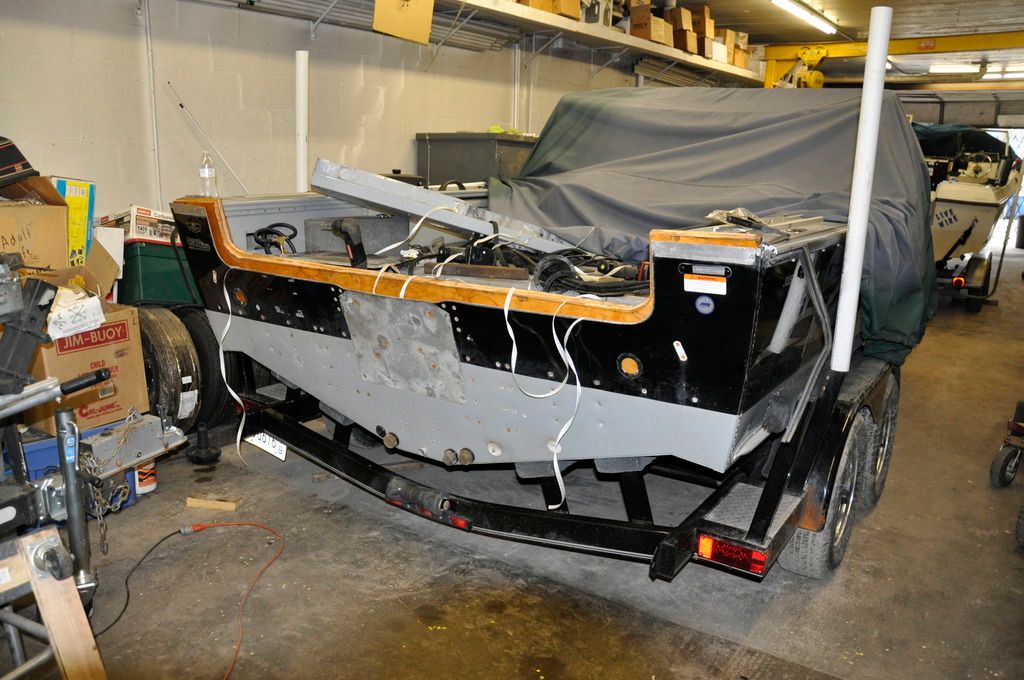 |
|
|
|
Post by hondacat on Mar 13, 2016 16:28:05 GMT -5
Installed the new transom installed (and caulked) 4 of the thru bolts to hold it perfectly in place then trimmed the top of the transom with a saws all will do some final filing and sanding to make the board match the top of the aluminum perfectly then 4 coats of epoxy to seal up the top of the wood with these extra steps there is no gap between the aluminum and the wood if some thing is dropped on the transom cap it will not dent distort or break the seal on the top cap. Here's a thought on trimming top of transom board. A router might do a neater job than the sawzall.[/quote][/quote] you are correct but i dont have a router and have gotten pretty good with my saws all today we got the top trimmed and two coats of epoxy on the transom board to make it last longer thoroughly sealed the thru bolts and the transom cap and corners 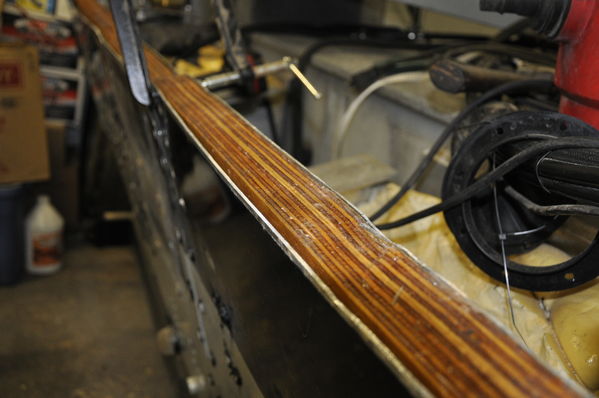  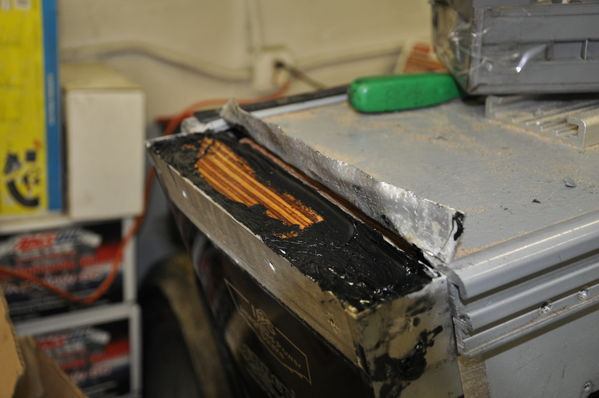 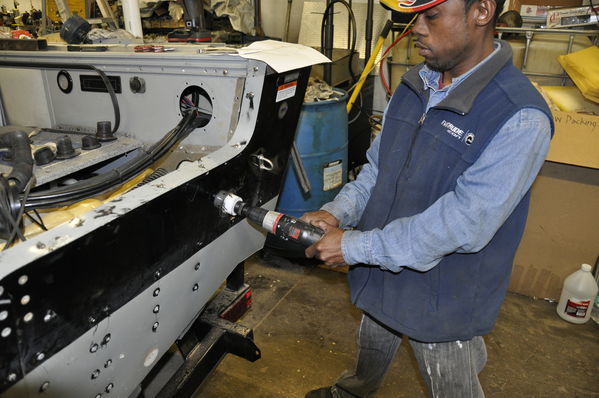 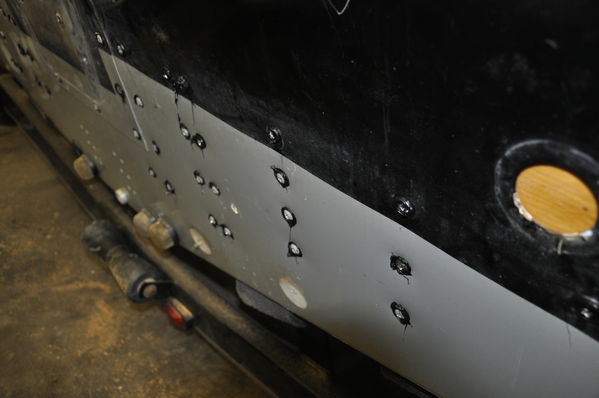 |
|